Arduino PID control for sous-vide cooker
22 May 2014
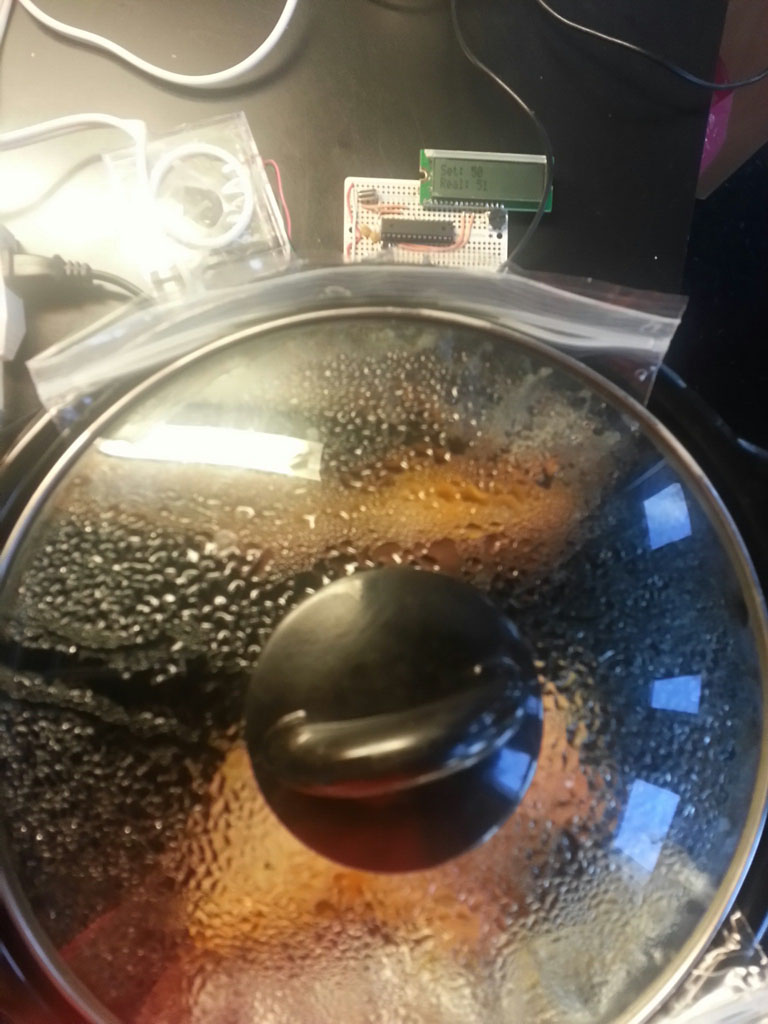
A while ago, I made this arduino temperature controller, for sous-vide cooking and for making yogurt in our cheap slow-cooker. It's been used a lot but was somewhat limited by the simple temperature control algorithm which simply turns the heat off when the temperature is above the setpoint, and back on when it drops below. Any engineer would know that this is not an effective way to control temparature ! Still, we could use it to make some delicious sous-vide salmon.
I've always wanted to add PID control to it, but never managed to take the time to read the documentation for the PID library. A couple of days ago, I found this Adafruit SousViduino tutorial which does it really well. So I decided to adapt the code to my setup.
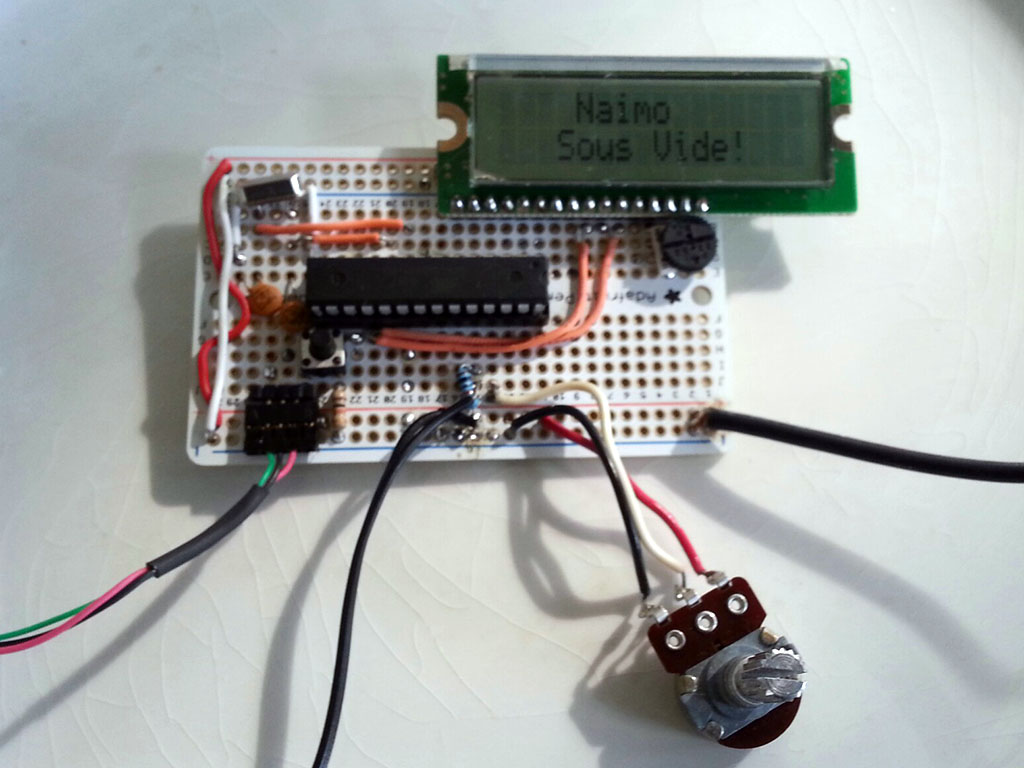
My circuit board is more basic (much cheaper though) than the one used in the Adafruit tutorial, so I had to rewrite a good part of the code. First, I used a Hackduino board, which is a more permanent bare-minimum arduino board that hosts your projects after you are done prototyping on the Arduino Uno for example. The main advantage is that it costs $8 to make and you can repurpose your Arduino Uno for your next project. There are many resources on how to build a Hackduino, including this Instructable. The process involves putting the Hackduino board together, programming your AtMega microcontroller with your own code using your regular Arduino Uno and transferring it the the new board, then replacing a new AtMega 168 or 328 in the Uno and flashing it with the arduino bootloader. Everything is well explained in the Instructable.
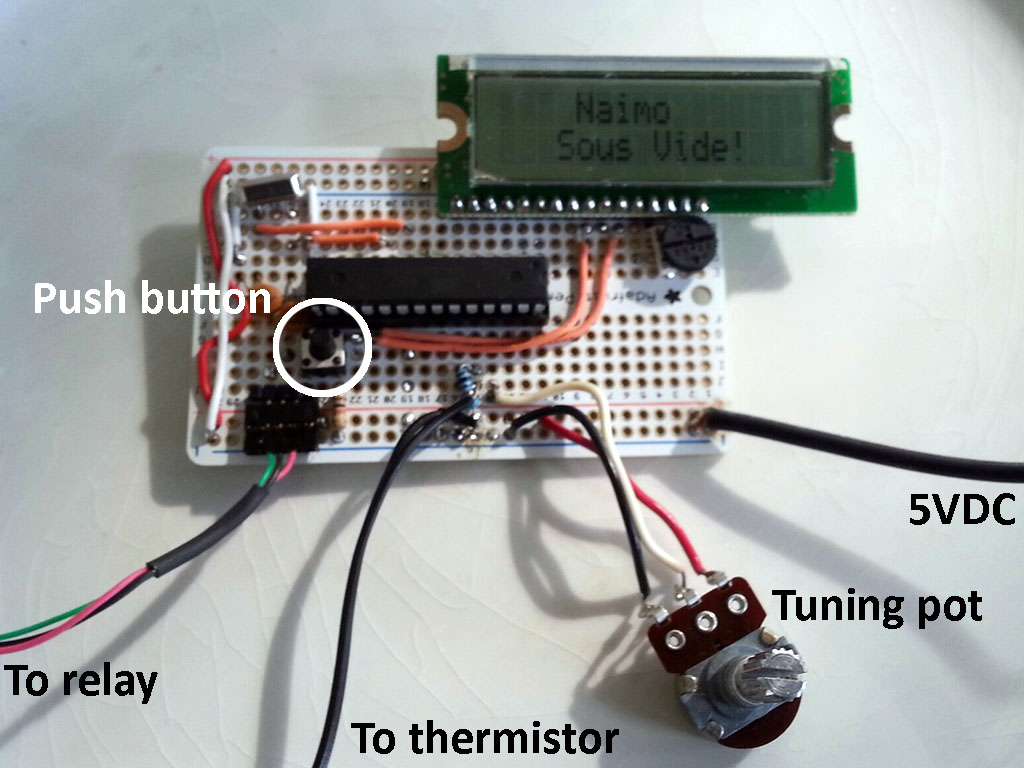
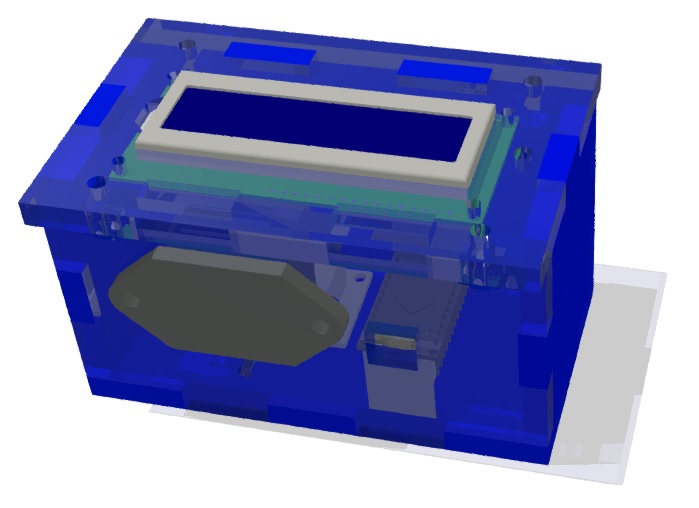
In addition to the bare Hackduino, I added an LCD screen, a push button, a temperature sensor (thermistor), a potentiometer to help me set the desired temperature, and a relay connector. This is somewhat different from the Adafruit SousViduino setup, but I kept the user interface (menus) the same. I just had to change the way to navigate and adjust setpoints and PID parameters with my single button and potentiometer, adapt the communication with my LCD screen and the temperature reading from my basic thermistor. The modified code is available on my Github page.
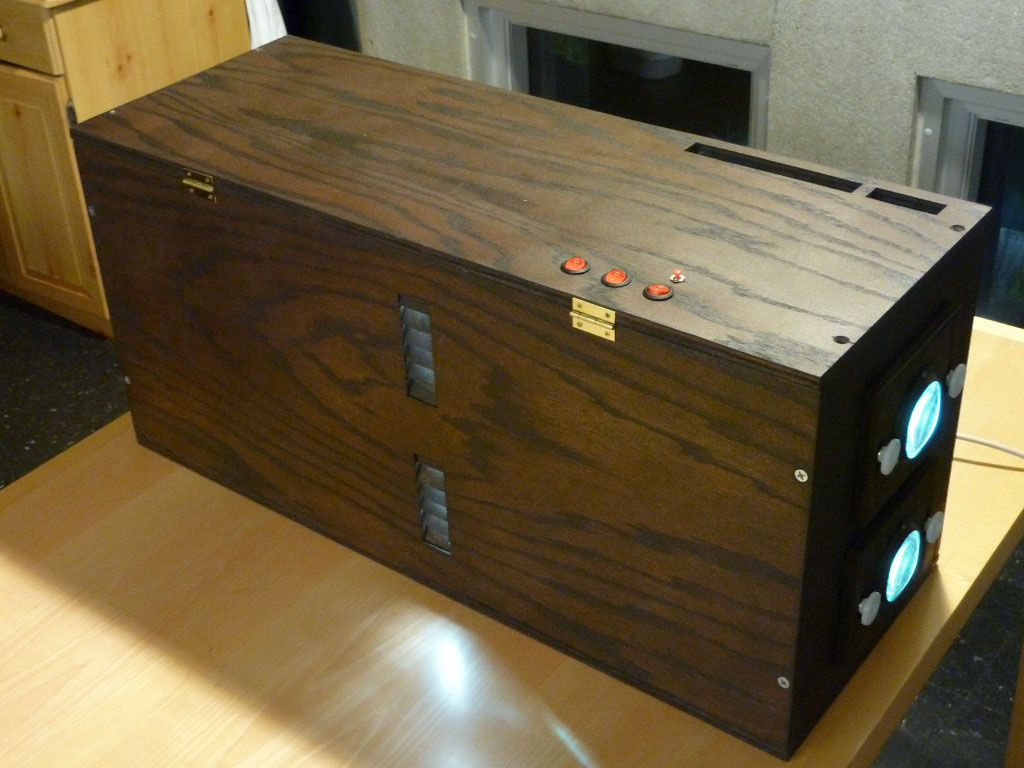
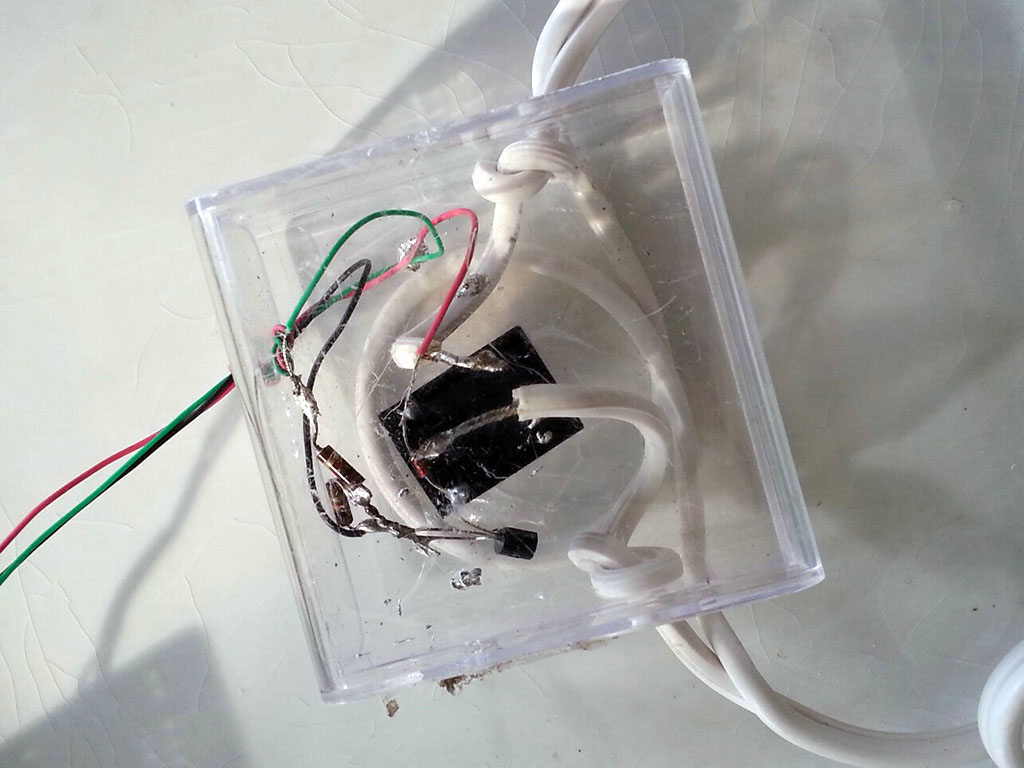
A small relay box is used to control the power going to the slow cooker. Mine is also more basic than the one used in the Adafruit tutorial. I repurposed a power extension cord. The digital pins from the arduino cannot provide the current needed to operate the 5V relay directly, so a transistor is used as intermediate. I used this small circuit. I should mention that this step is dangerous ! Because we're handling 110V, everything needs to be encapsulate in a closed box. One should never plug in the extension cord before everything is contained and isolated. The picture shows what the box looked like before I added hot glue to isolate and hold everything together.
After modifying the code so much, I was glad to see that the PID control worked. I tuned the PID parameters using the included autotune function overnight, and I should be ready to do some cooking.
Other projects