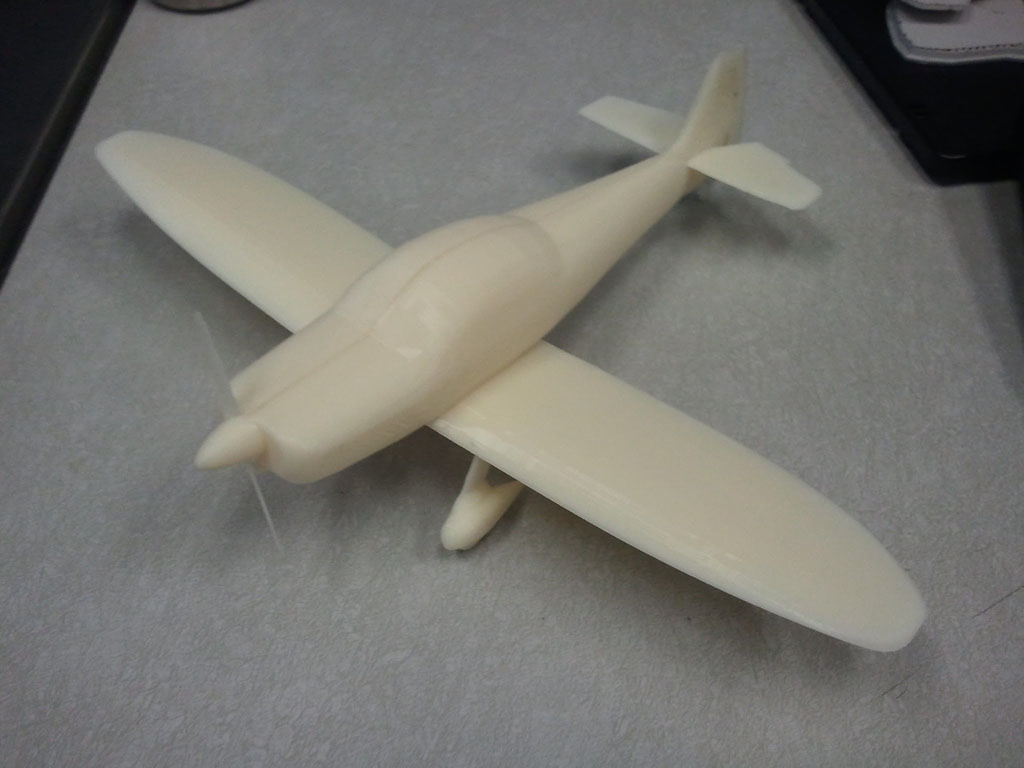
3D printed airplane model
05 December 2011
My parents are pilots, and they own a little 2-seater airplane, designed by a french company called Avions Piel. For a christmas gift, I thought I would make a little model of their plane, so I asked a friend (thanks Chris!) to show me how to use Rhino to make a 3D model of a real object. It was then printed on a Dimension BST 1200 ES 3D printer, in the DMSE department at MIT.
The model can be downloaded from the Thingiverse. I first looked for the blueprints and found them on a french forum dedicated to these little airplanes.
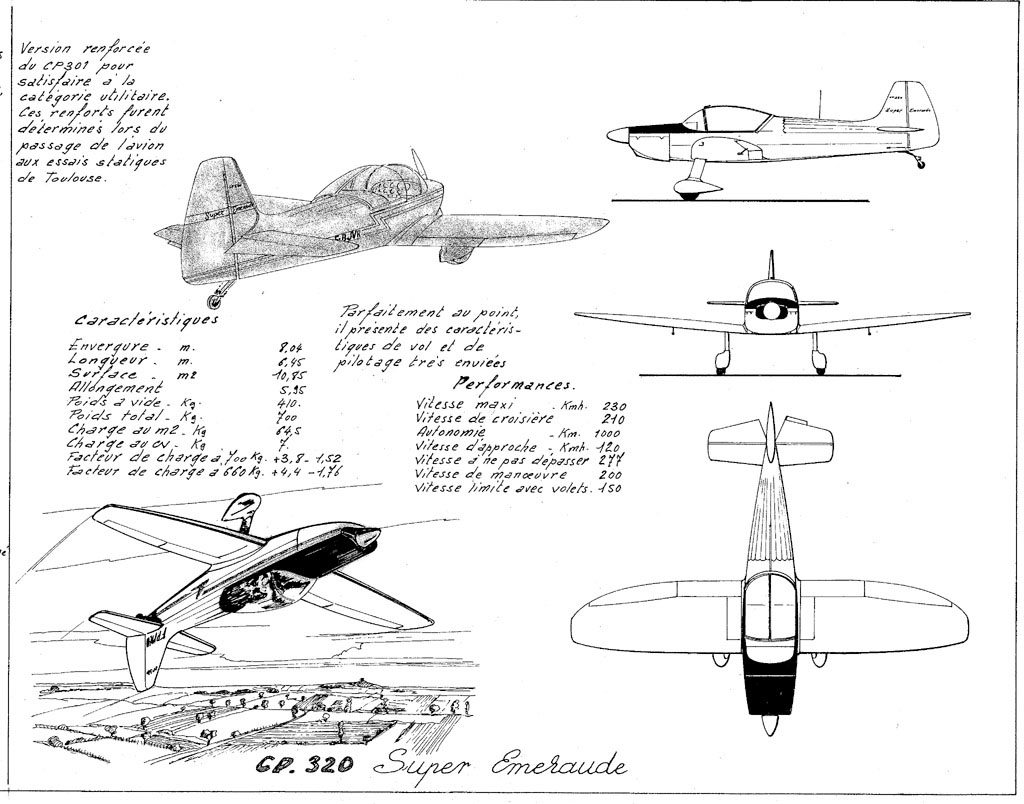
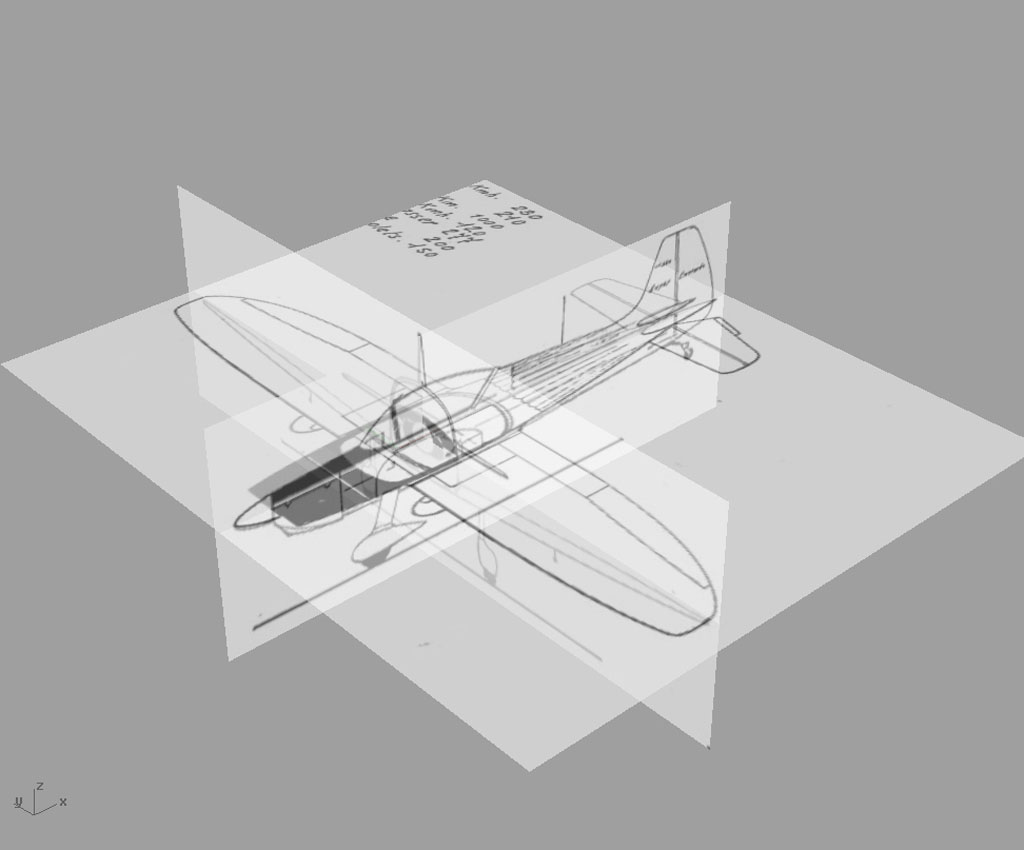
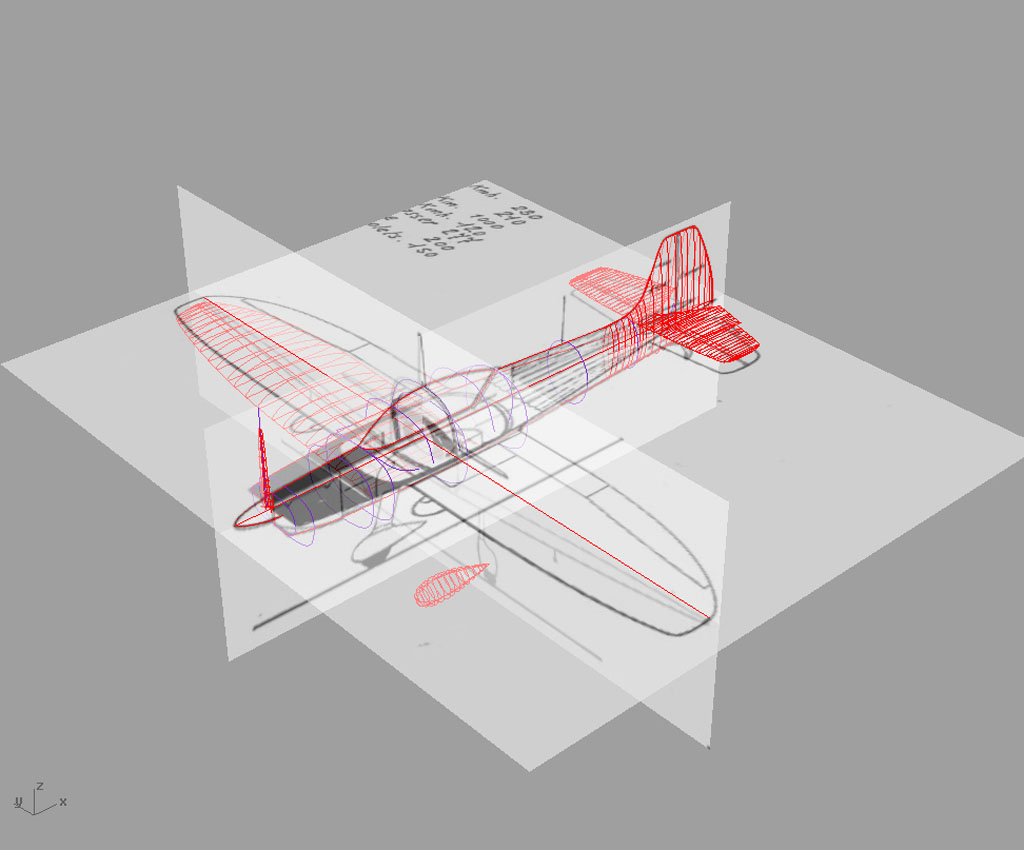
The next step was setting up the Rhino 3D workspace by placing the top, front and side views and aligning them properly to start building shapes. Some initial curves were then drawn following the blueprints, frequently switching from top to front to side views to closely match the template.
Volumes were then created from these curves by using mostly the loft tool, which creates a surface from a set of selected curves. Most parts of the plane, like the body, wings, and cockpit, were modeled this way. Others like the tailwheel are a union of simple shapes.

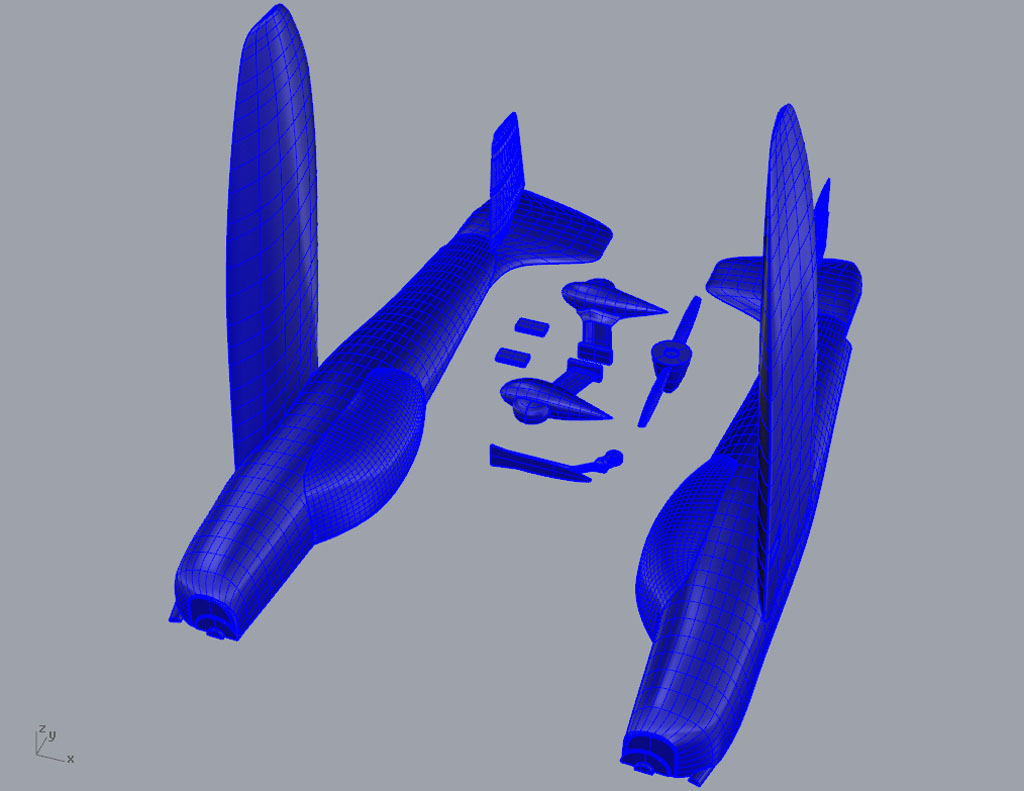
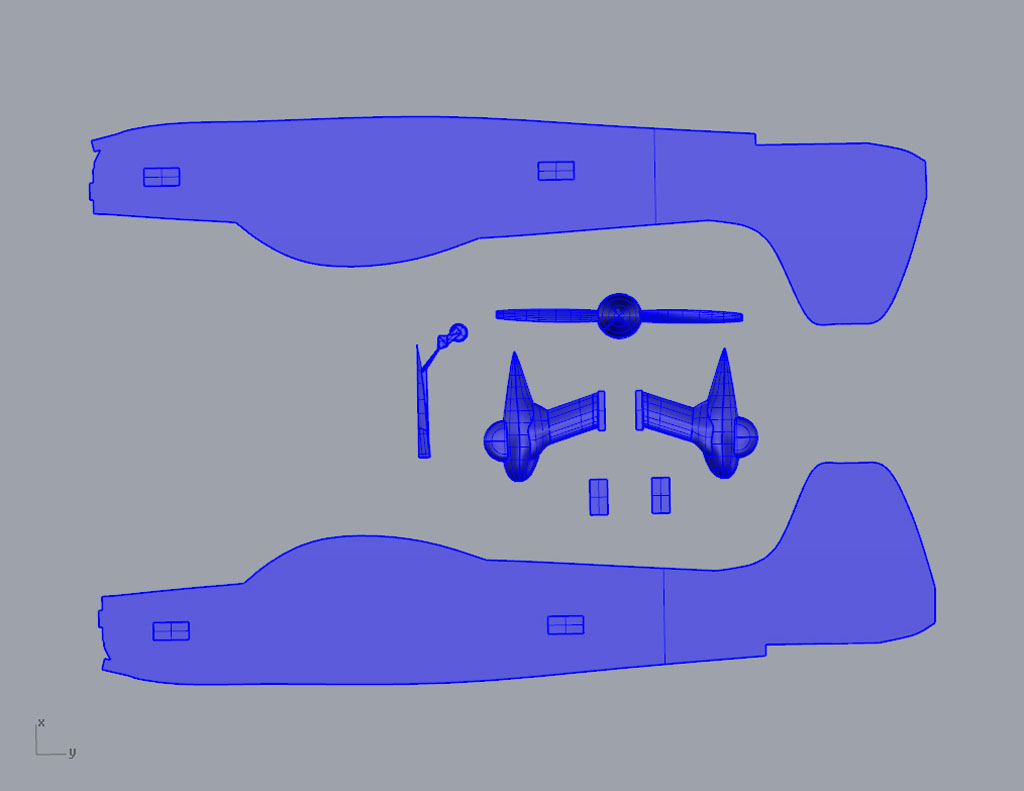
For 3D printing, one has to be careful about keeping the objects as single topoloical volumes (no hole in the surface, no intersections of volumes...). I first join all the volumes together, then cut the plane into several parts to facilitate the printing and minimize the amount of support material needed. Finally, small pegs and their corresponding holes were added in the body of the plane to facilitate assembly.
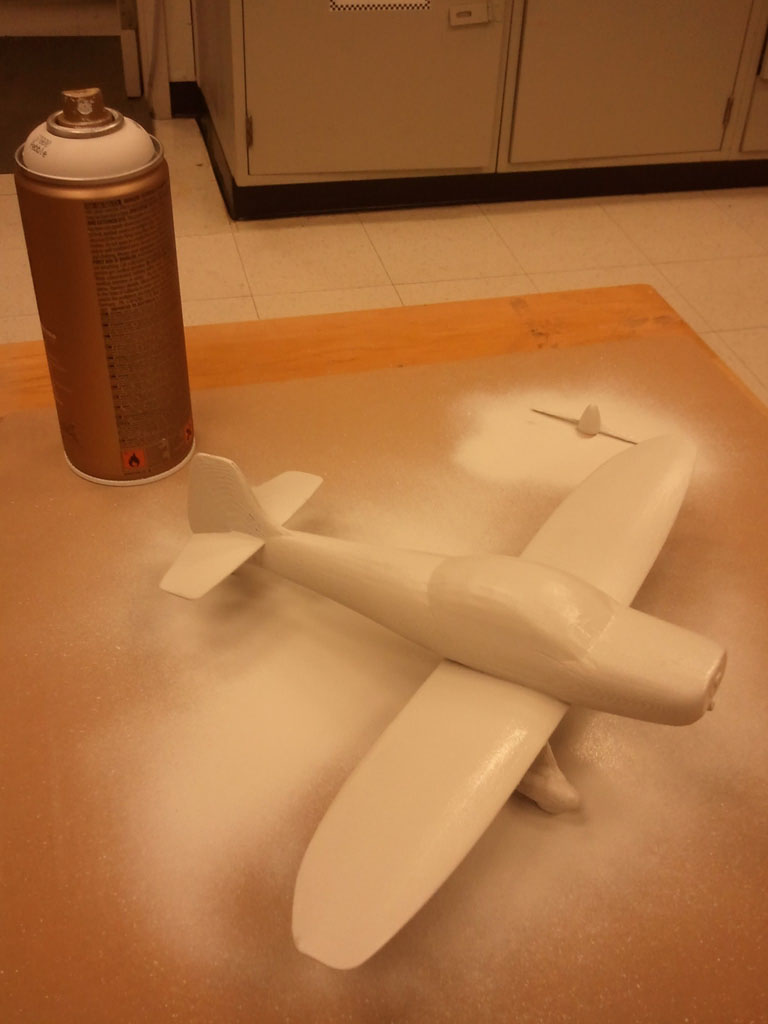
After printing and glueing, the plane was sanded, and spray painted.
