DIY 3D Projector
08 December 2013
When the backlight of an old laptop of mine died, I looked into projects that could repurpose and salvage its LCD screen. I quickly found myself absorbed in the realm of DIY projectors, and in particular in the LumenLab Forum, which was one of the best resources out there on the subject at the time. The forum is now dead, however, fortunately, most of the content can still be accessed via the Wayback Machine which has an archive of the old posts. There are a couple other good resources out there, and, in particular, a very good french forum named Allinbox.
The main idea behind these DIY projectors is to strip the LCD screen of an old laptop or external monitor, place a very bright lamp on one side, and add a few optical components to project the LCD image on a wall or projection screen. Thanks to the work and optimization of hundreds of passionate DIYers, these homemade projectors can result in an image of higher quality than some of their commercial counterparts at a lower cost.
Because I really like 3D movies, I looked into the posibility of tweaking these projector designs and make one that is stereo-capable. In late 2012, A number of months later and after much deliberation, I started going to the shop and gave it a try. I'll try to summarize my journey in this post. For more details on the fabrication, and more resources about DIY projectors in general, please visit my Instructable.
To reuse the LCD screen of an old laptop for a 3D projector, what is needed is a way to project the images formed on the bottom and top halves of the screen (after it has been turned by 90 degrees to make its height the longer dimension) so that they overlap on the projection screen. Here's a side view picture showing the basic idea.
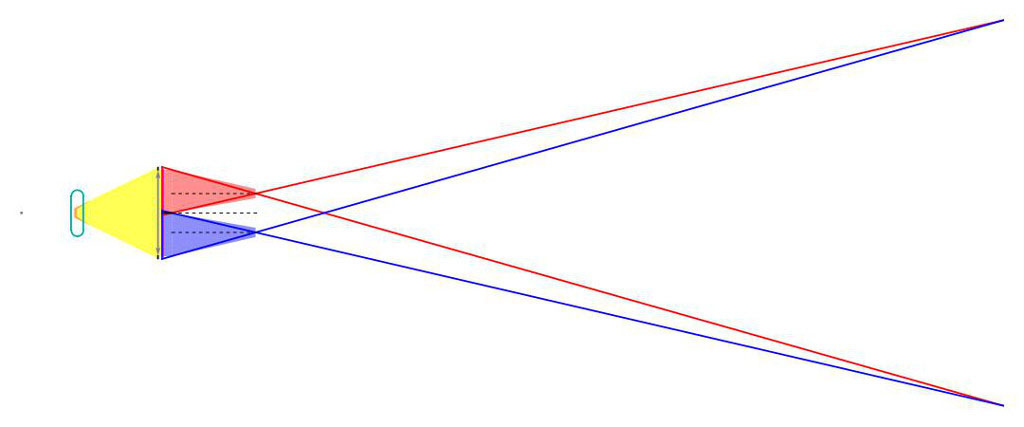
And here's a more detailed view of the inside of the projector and how the light produced by the lamp travels through the various elements. The design is largely based on the usual DIY projectors found on the forums that I mentioned.
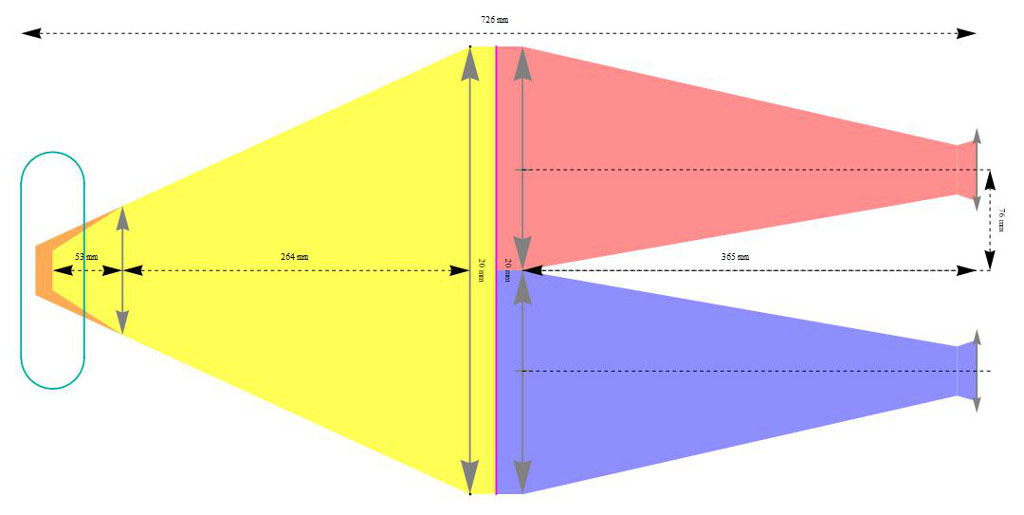
The principal difference with 2D DIY projectors is the front part of the box, here on the right, which takes care of projecting the two different halves of the LCD along two different paths. Thanks to a proper placement of the lenses, based on the concept of "lens shift", we can obtain the superposition of the two images on the projection screen. All the dimensions can be calculated using my little Mathematica script in which one can play with the various specifications and dimensions of the LCD, lenses, etc.
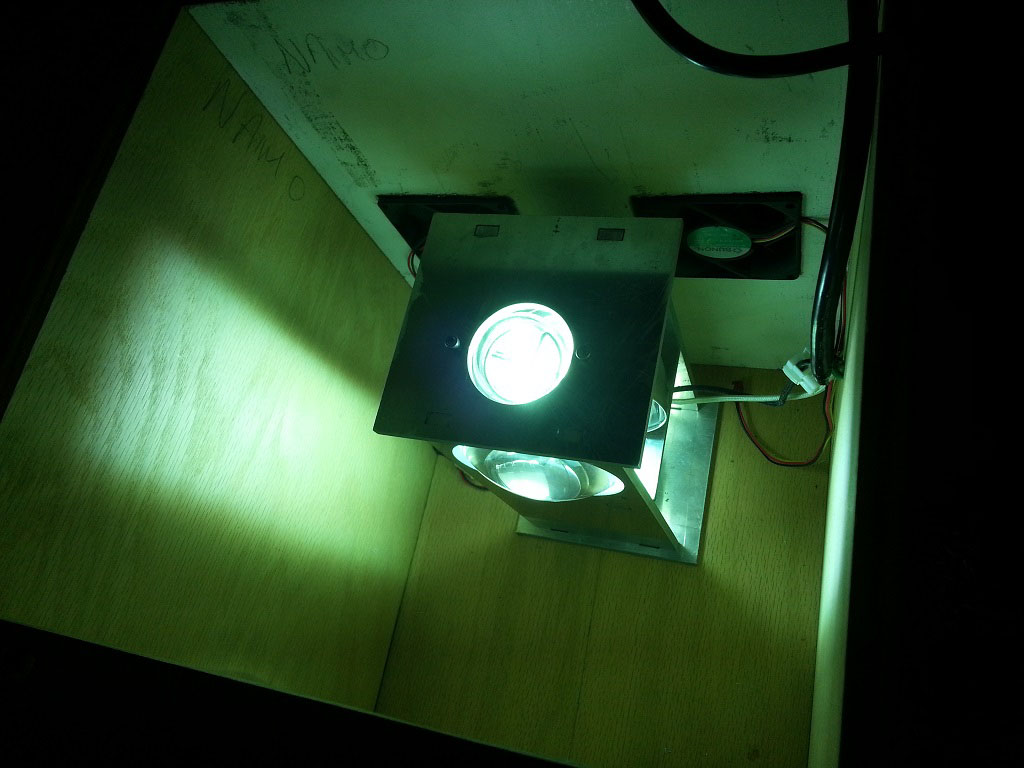
Here is what the lamp actually looks like when it is in use. There is a spherical reflector at the back and a lens at the front, that maximize the amount of light actually passing through the LCD and reaching the projection screen. The 1/4" aluminum parts that hold everything together were cut in the waterjet. The lamp is a 400W metal halide bulb, which produces a lot of heat, thus the two fans at the back of the box which continuously extract the hot air while around the lamp while cool air comes in the box from a side aperture, close to the LCD.
All electronic and optical components are contained inside a box made of 1/2" plywood and 3/4" MDF boards. The final box dimensions are 12"x14"x36". All the cutting and assembling was done at the Hobby Shop at MIT.
I used pretty rudimentary mounts, that I cut in wood scraps, to secure the fresnel (large and flat) lenses and LCD in place. There is also a sheet of polycarbonate (Lexan) between the lamp and the first fresnel lens that acts as a heat shield to protect the other components from overheating.
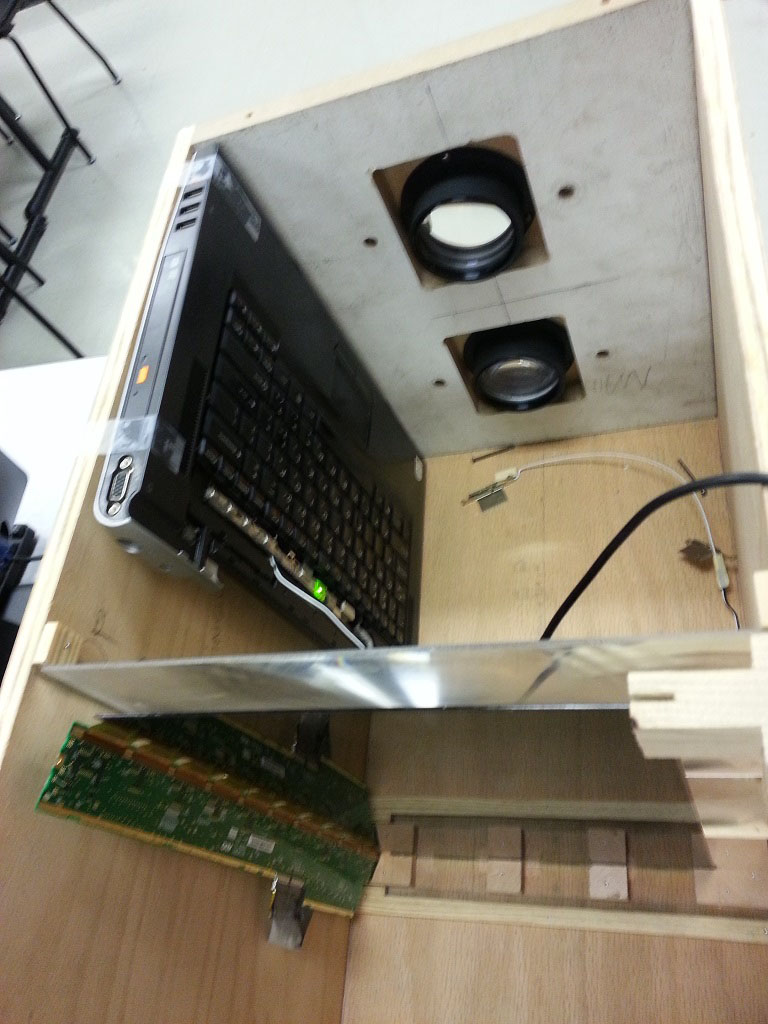
The two objective lenses, whose final position is critical to obtain superposition of the two images on the screen, are mounted on small plywood panels that can be moved around thanks to a sliding mechanism. This is to compensate for the fabrication inaccuracies when cutting the lenses and mounting the LCD. It allows to move the projected image around to a certain extent, as long as all of the light coming from the LCD passes through the objective lenses.
The laptop is mounted inside the box, and will be used to control the LCD screen, store the 3D movies and play them. A cable was hooked up to its power button to allow to turn it on and off without having to access it.
To make things simpler, the project reuses linear-polarized 3D glasses from movie theatres, such as the ones used in IMAX 3D cinemas. These rely on the filtering of polarized light to assign the right image to the right eye. To make it work with our projector, we leverage the fact that the light coming out of the LCD screen is already polarized linearly, usually at an angle of 45 degrees. By adding half wave plate films next to the objectives, at two different angles, the polarization can be rotated in opposite directions to obtain two images polarized at 90 degrees from each other.
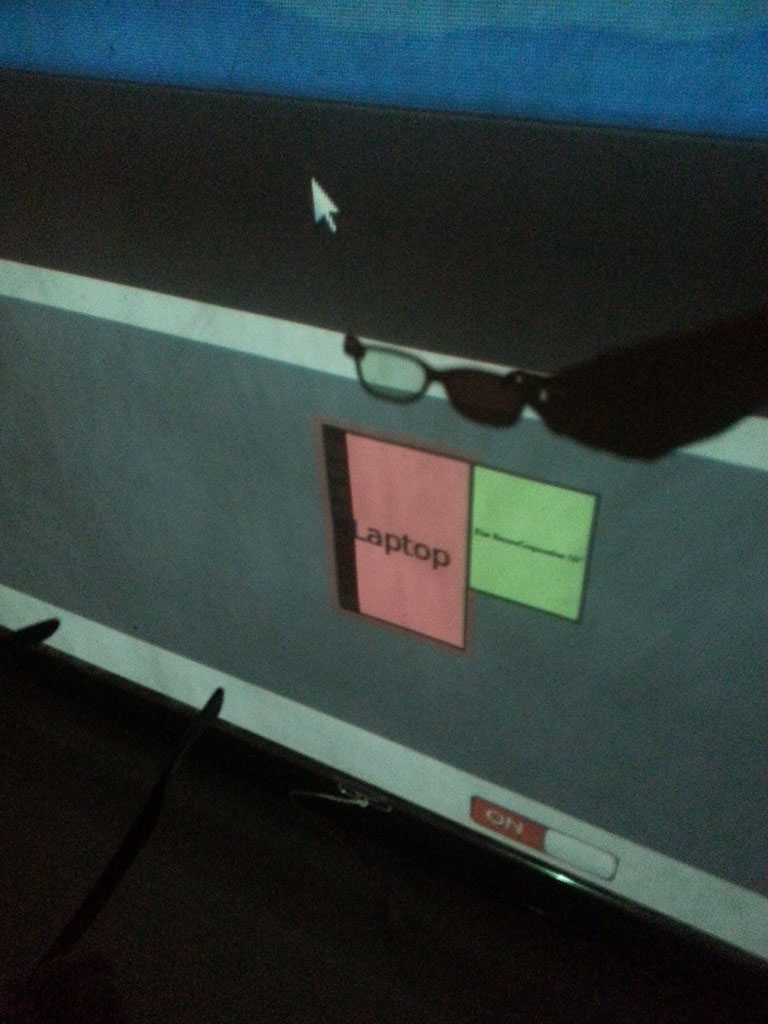
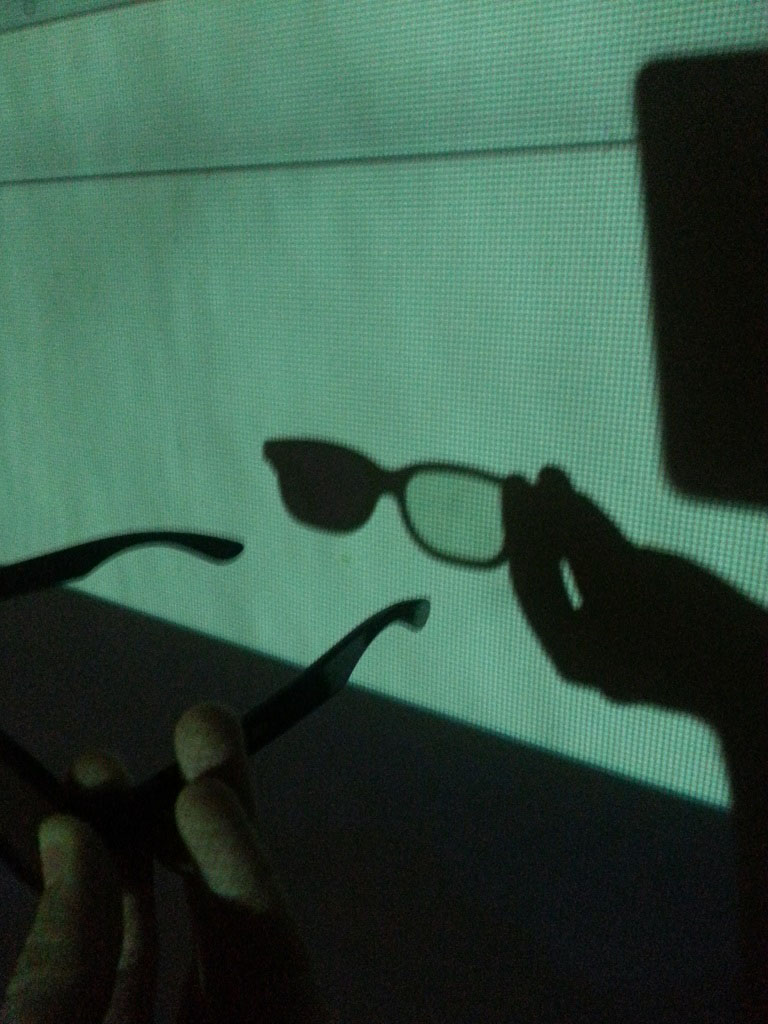
Here are two pictures showing the images projected by the top and bottom halves of the projector, and how they are filtered differently while passing through the 3D glasses. The projection screen itself needs to be compatible with passive 3D, or else it will diffuse the light and lose the polarization. I use a Da-Lite Silver Matte screen which has a metallic surface which keeps the polarization of the light.
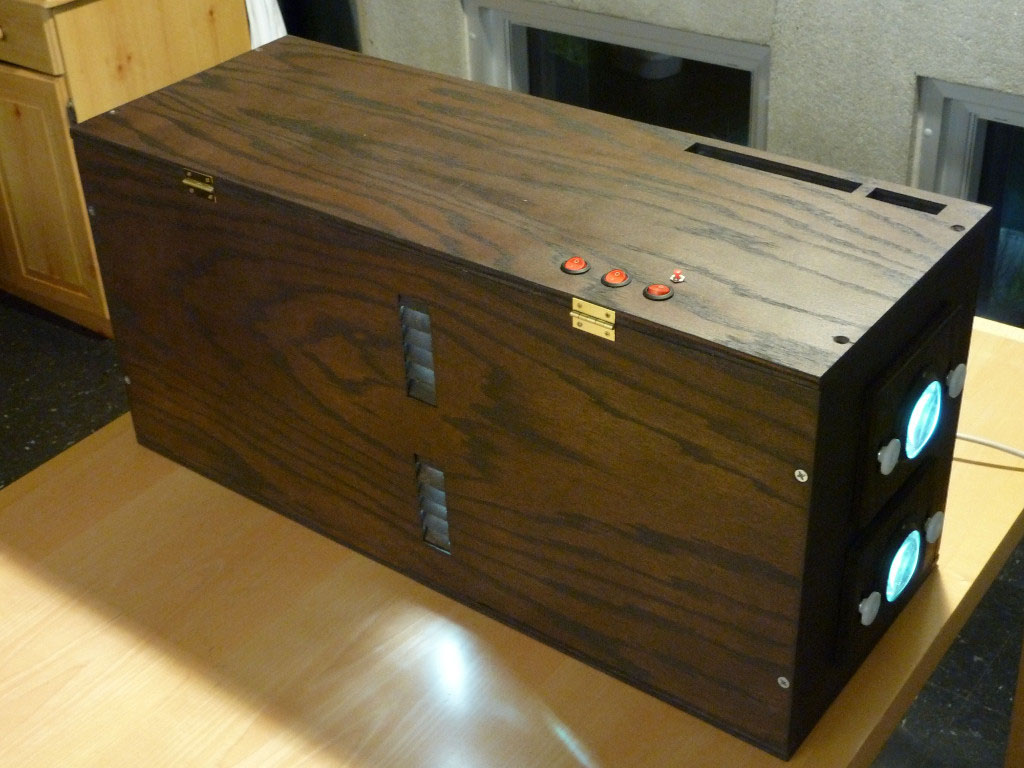
To finish the box, dark wood stain was used to highlight the contrast that the grain creates in the plywood boards, and to make it look more like hardwood. Some switches and power connectors were used to make it easy to turn the various power supplies (laptop, fans and lamp) on and off without having to open the box. Finally the remaining apertures were decorated with improvised ventilation grilles made with small wood pieces glued at an angle to block the light.
The software side of things is the easy part, with a video editor such as AVIsynth, all there is to do is to stack the two channels of a 3D video stream vertically so that they are displayed at the right location and the right size on the LCD screen. Here's the code that I used to convert a video from "half side-by-side" format to a 1280x800 format playable on my projector.
height = 1280
width = 800

video=directshowsource("videofile",pixel_type="RGB",audio=false)
videoW = width(video)
videoH = height(video)

w=4*round(width/4)
h=4*round(w*videoH/videoW/4)
video=video.Lanczos4Resize(2*w,h)

f1 = Crop(video, 0, 0, w, h)
f2 = Crop(video, w, 0, w, h)

blackheight = (height/2-h)/2

black=BlankClip(f1, height=blackheight, color=$000000)
StackVertical(black, f2, black, black, f1, black)

ConvertToYV12()
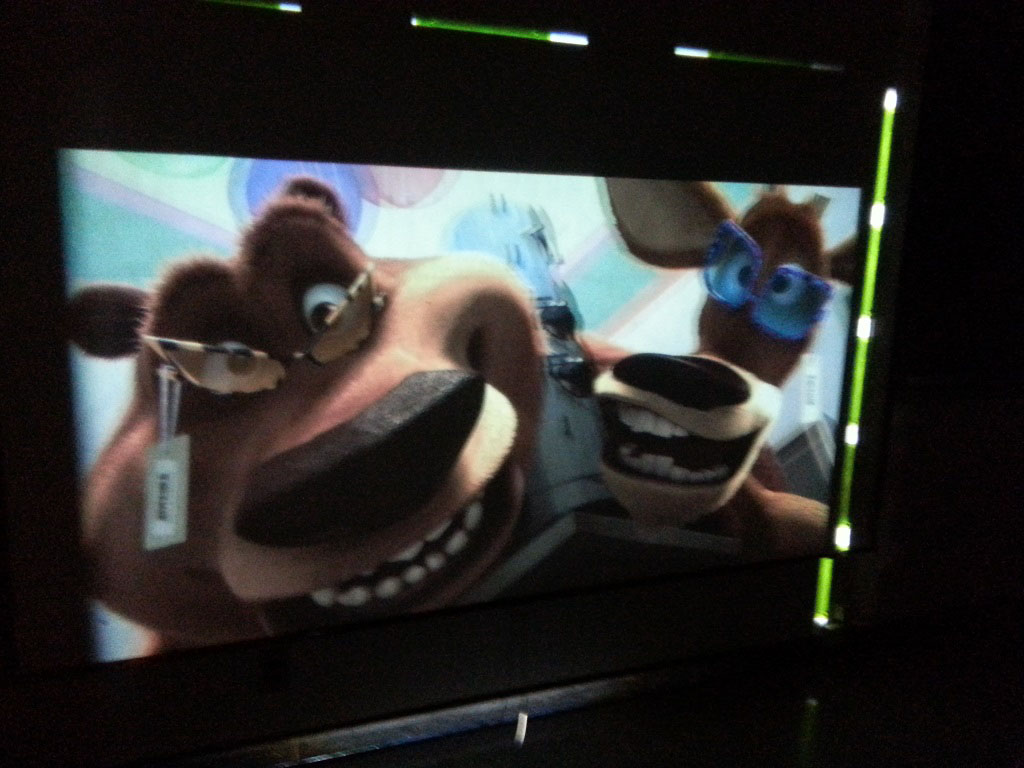
Unfortunately, there's no good way for me to show on a 2D webpage how well the 3D works. Still, here's an example of what the projected image looks like when seen without polarized glasses. The image is about 8 feet wide by 5 feet tall. The foreground is sharp because it is the same in the two channels of the 3d stream, while the background is shifted because of the different point of view between the two images. The picture was taken before taking care of the light leakage around the LCD screen by using some electrical tape.
That's it! I'm glad to finally see this project come to a successful end. Although I already have many improvements in mind, I probably put a enough time and efforts into this project, and it's time to move on. Still, I hope that this can be a good source of ideas and inspiration, and I would be super happy to be able to help other hackers and hobbyists on similar projects.
Other projects