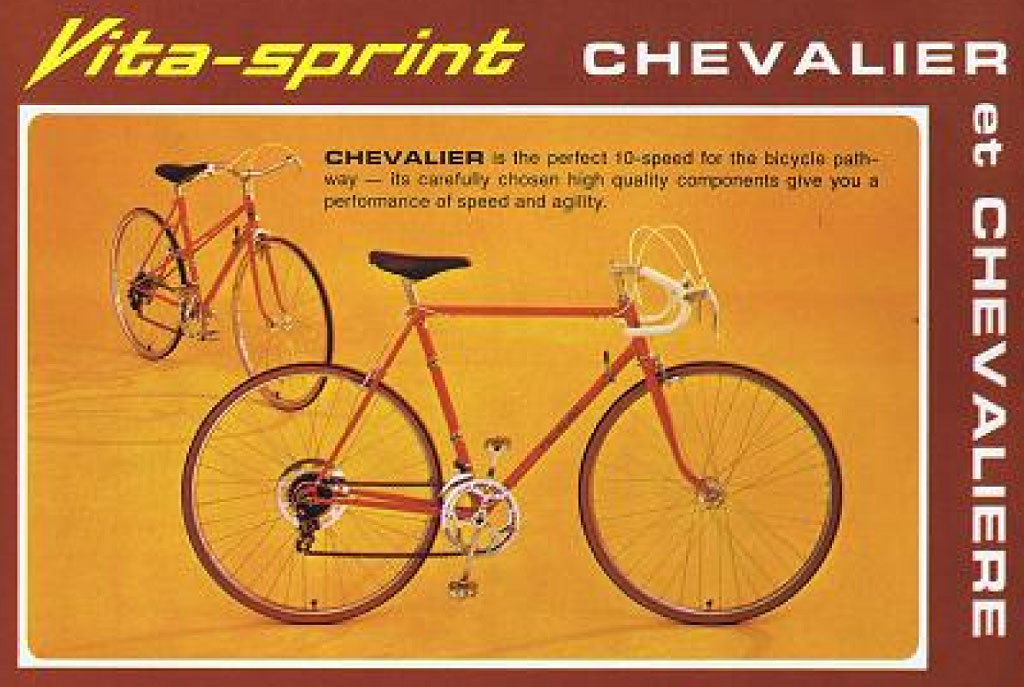
1975 Vita Sprint Chevalier
26 August 2013
When I arrived in Boston, I bought this bike for $50 as a temporary solution for my commute. It was very rusty and I had to straighten the front chainrings, but it served me well for more than a year, until the front brake lever failed and the rear wheel hub got loose and it became too dangerous to ride it. Trying to repair it was not going to be worth the time and effort unless a full overhaul was performed and most parts replaced, but I counldn't resign myself to throwing it in the dumpster, not after I found this old advert and the bike suddenly had a name and a birth date (1975).
So I decided to revive it.
I started by getting rid of all the rusted, broken, or unsafe (under today standards) parts, which basically meant everything but the frame, seatpost, headset and handlebar with stem. I initially thought I would keep the wheels, but it rains a lot in Massachusetts, and if anyone was going to ride the bike, it would need decent braking, so no steel wheels.
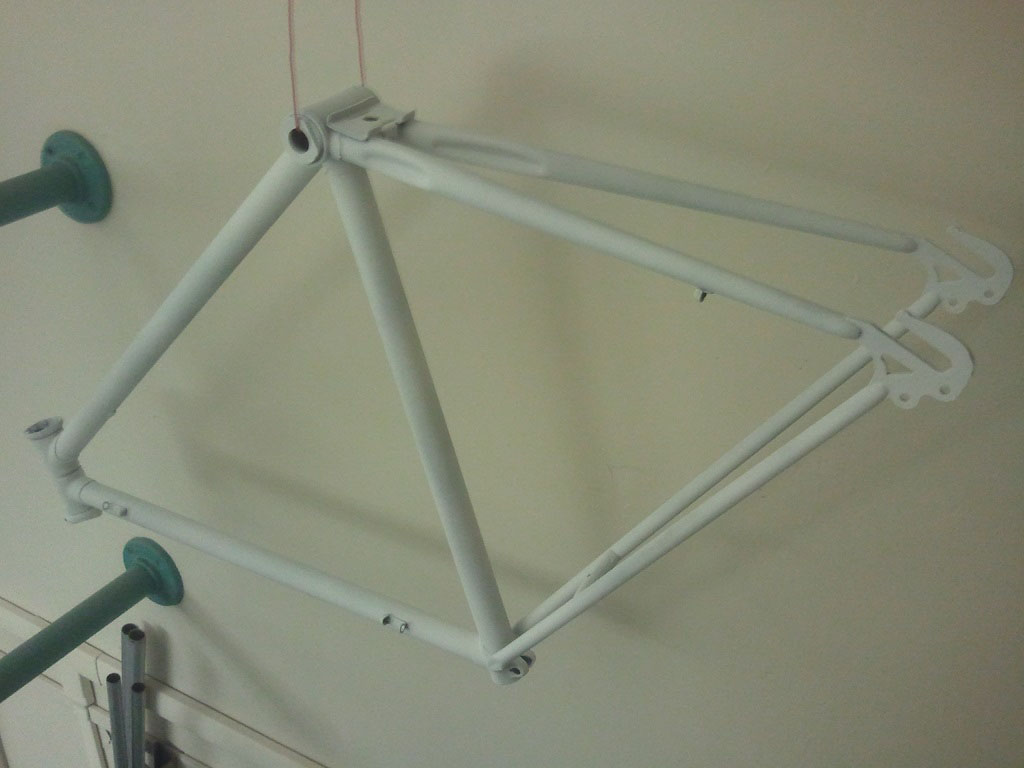
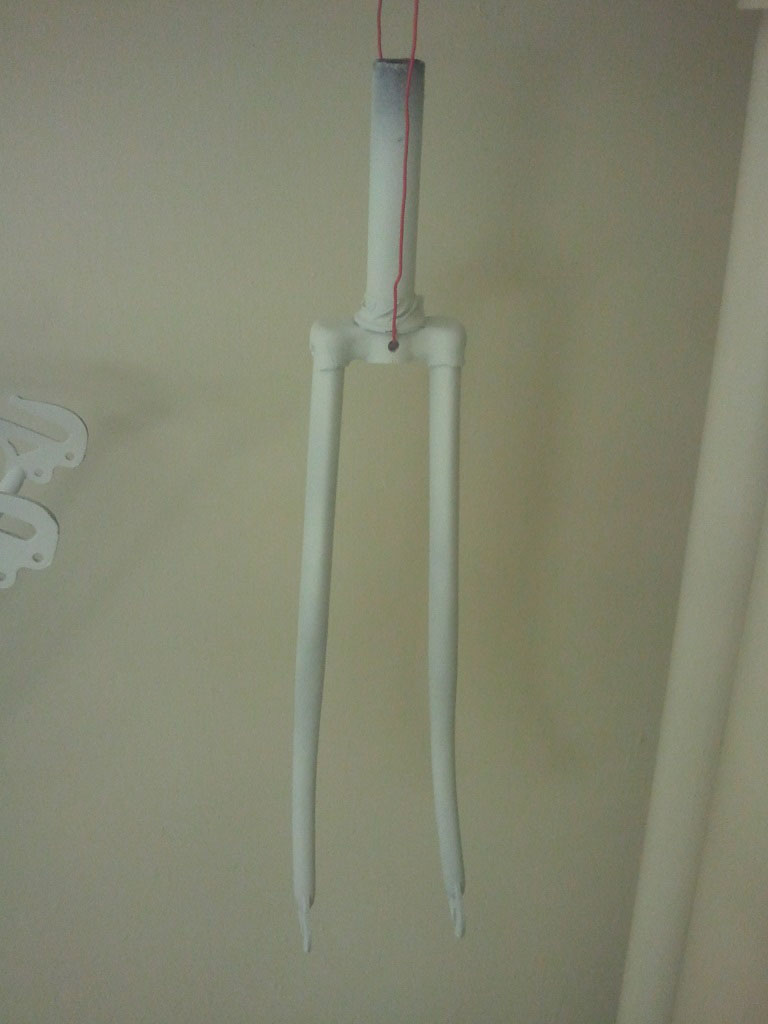
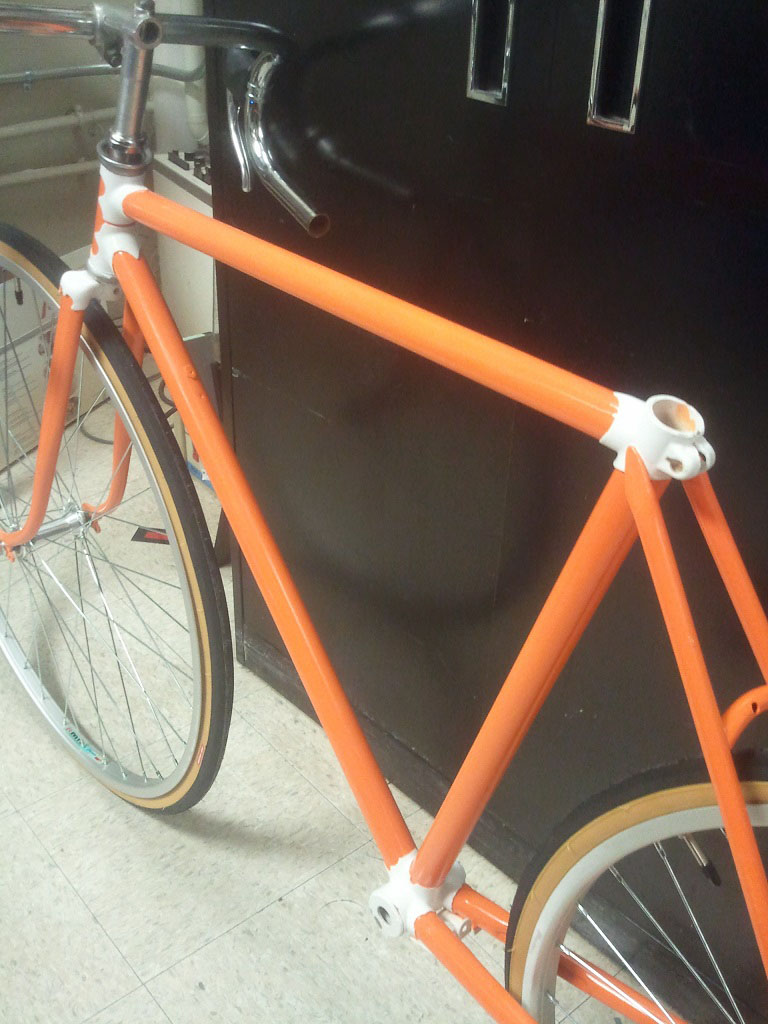
I used a sandblaster to strip the paint off the frame, it's a very convenient tool but one has to be careful not to blast the sand too close or for too long on the same area, or it will leave marks on the metal which can be hard to hide with the paint. Three layers of white primer were then sprayed lightly.
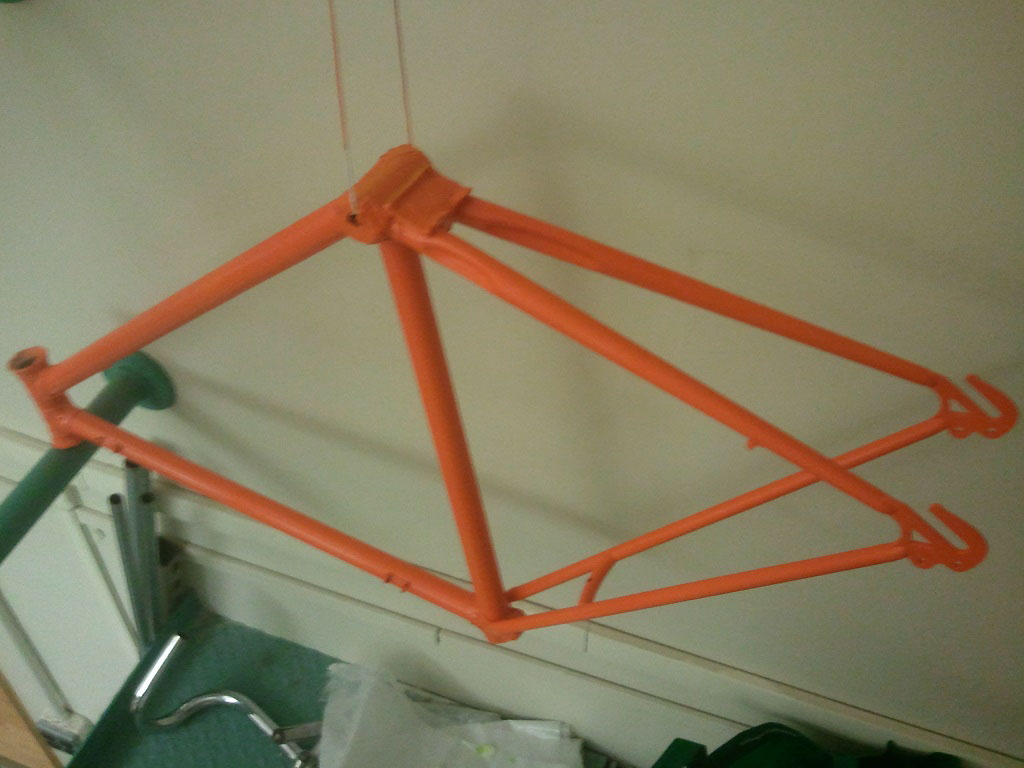
Then sprayed the colored paint, starting with orange.
I wanted to paint the tube and the lugs (welded junctions between tubes) with different colors, which meant finding a way to mask them. I initially tried with masking tape, which was a painfully time consuming task in itself to match the intricate lug contours, but I ran into problems when removing the tape. I ended up using masking fluid, which can be found in arts and crafts stores. It can be painted with a brush while still liquid, and can then be easily removed once dry. Tip: Using more masking fluid is better than not enough, or you risk to leave unmasked areas.
Finally, a clear coat was sprayed to protect the paint. I took my time and left the paint to dry overnight between each layer. Here are picture of the result after reassembly with new headset ball bearings, 27 x 1 1/4 bolt-on wheels, tires and vintage brake levers bought on ebay.
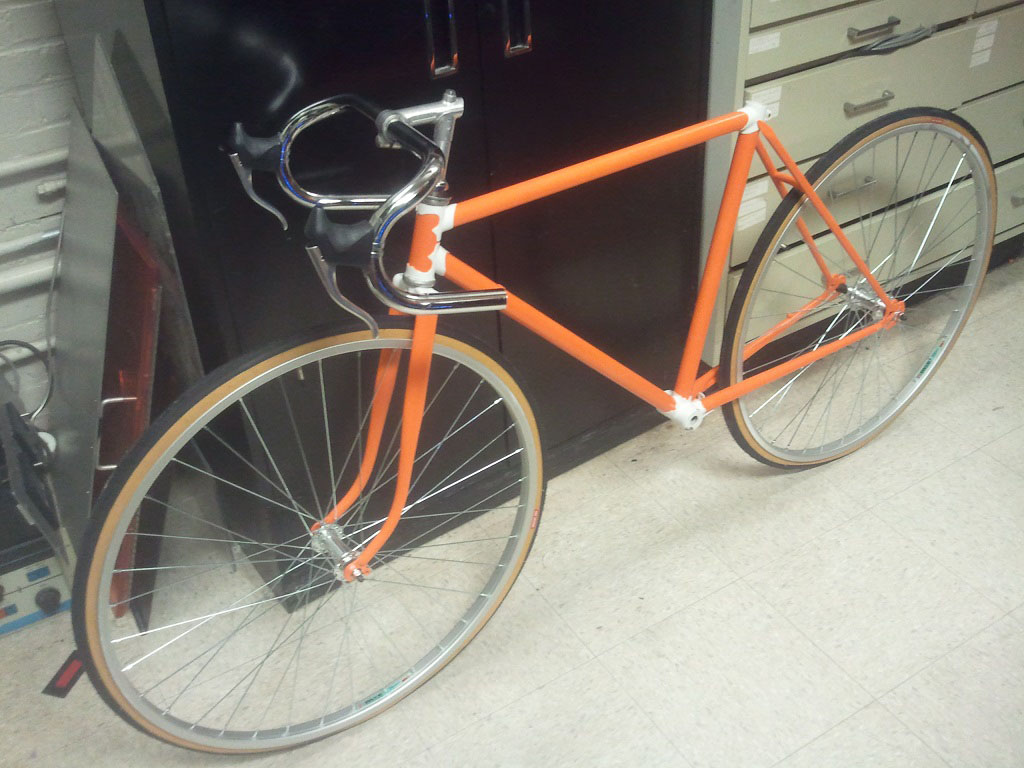
I bought the wheels and freewheel (16T ACS crossfire) first, as well as a single speed crankset and chainring found on Craigslist to eventually match them with a bottom bracket for the correct chain line. Sheldon Brown has tons of useful information for repairing/building bicycles.
The frame had french bottom bracket threads (1mm, right hand threading on both sides). I couldn't reuse the original cup and cone bottom bracket because of rust and the cottered spindle was ruined. A Velo Orange french threaded 68 mm cartridge bottom bracket would have worked, but my local bicycle store (Hub bicycle in Cambridge, MA, they're great !) had the threadless version, so I had them install it for me. The spindle length is 110mm.
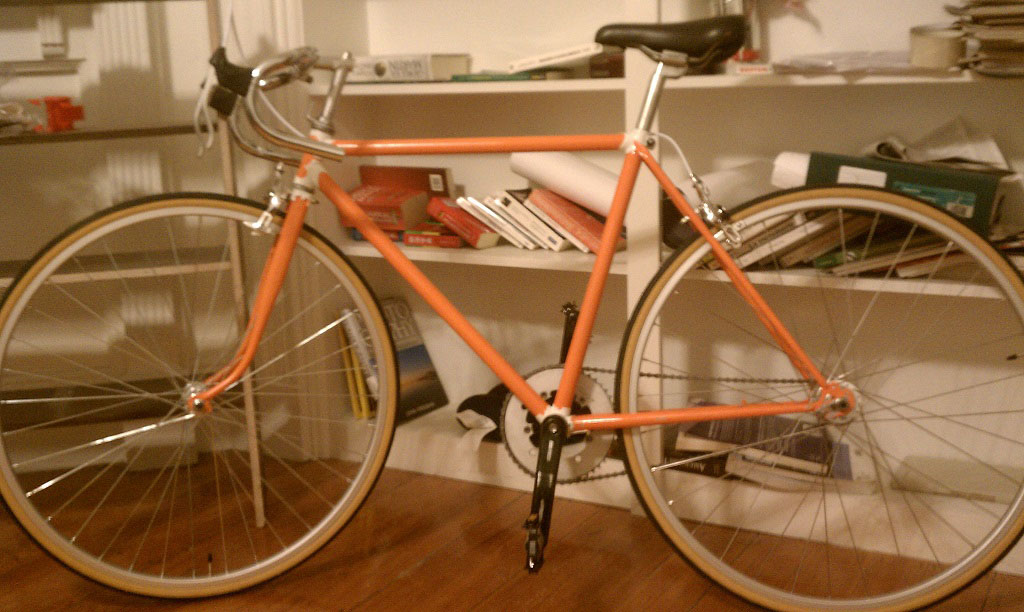
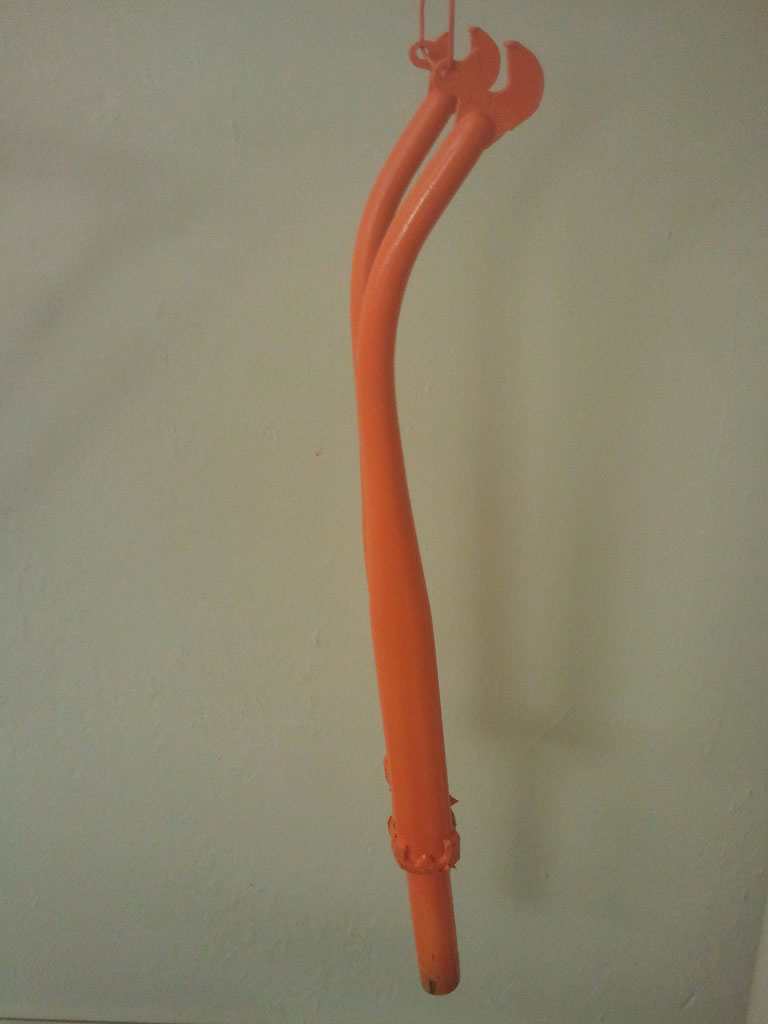
The final addition was some white handlebar tape and the life saving bar end plugs (don't forget these !).
Other projects